


Double Bowery Wallet
Double Bowery Wallet
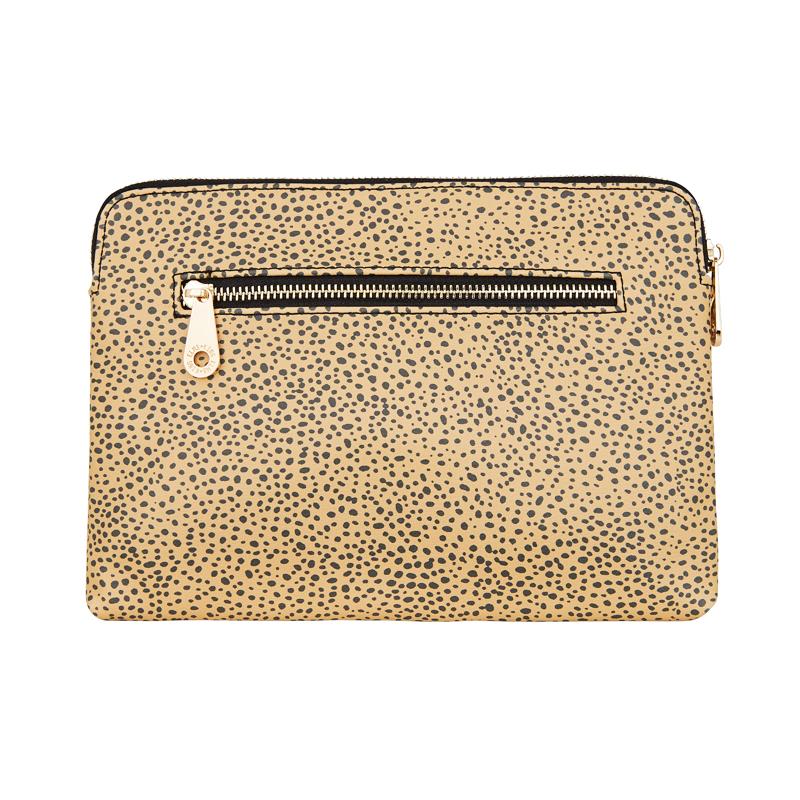
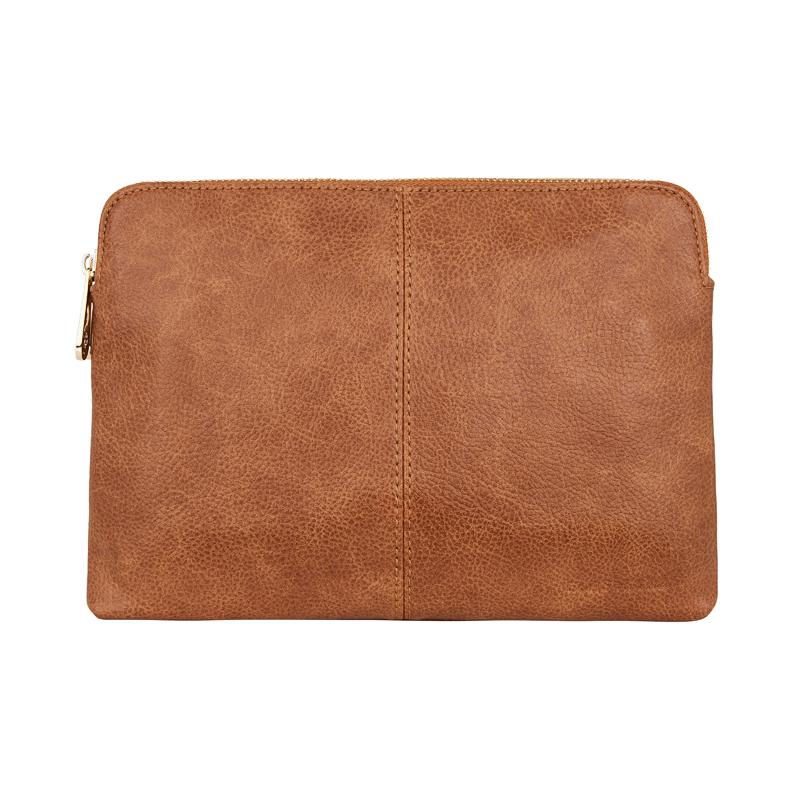
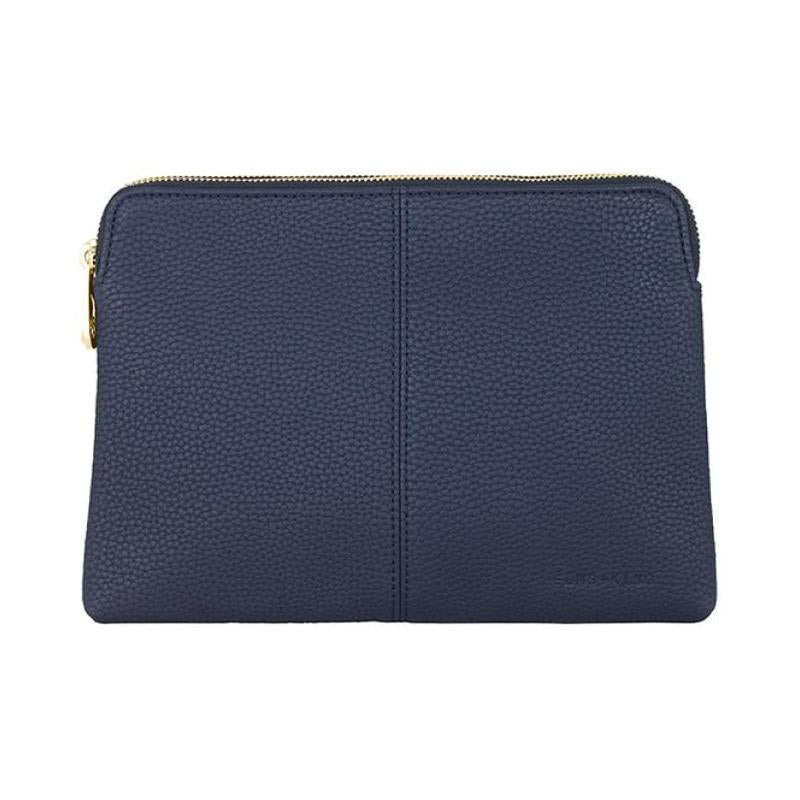
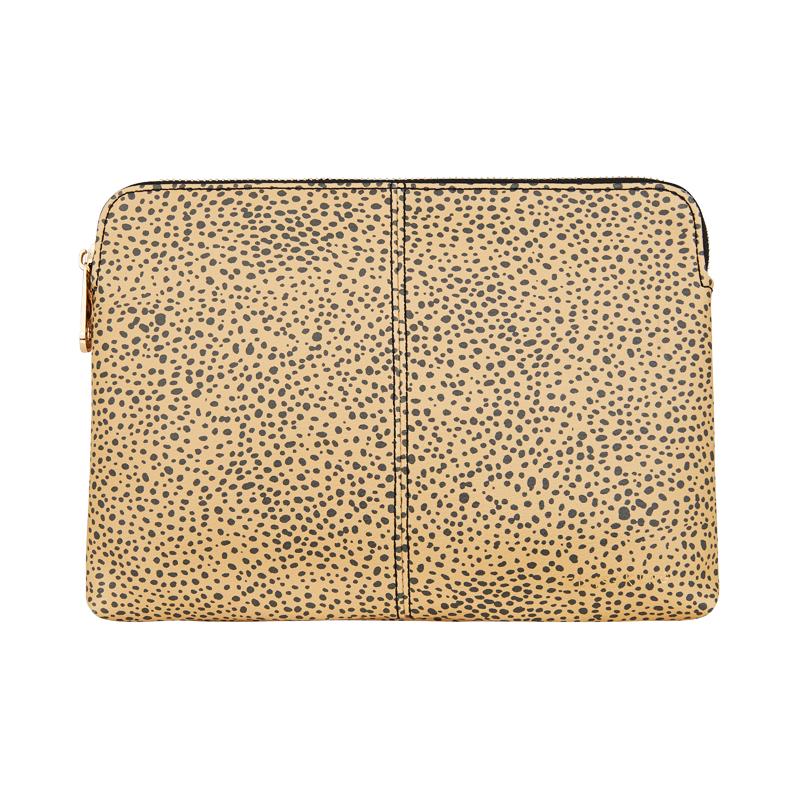
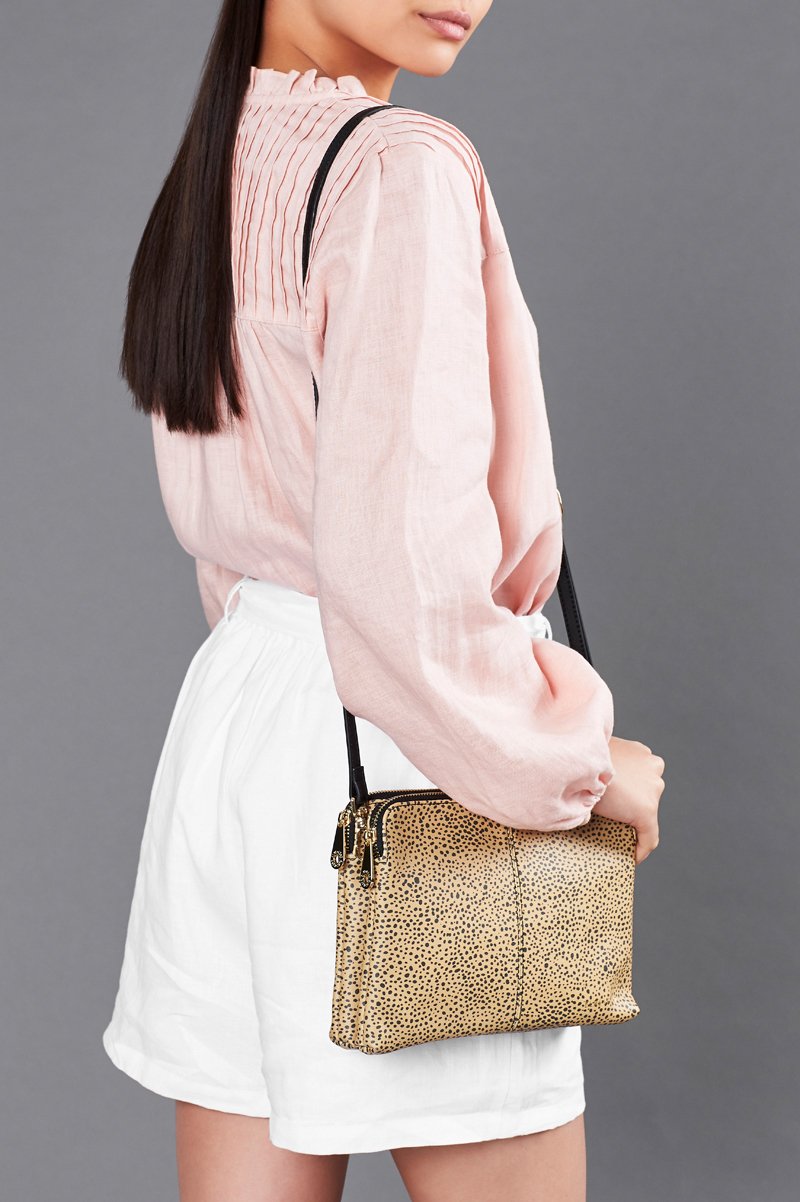
Offering the compact convenience of the Bowery Wallet, with the added capacity of a full-sized clutch on the back, the Double Bowery will quickly become your favourite crossbody bag! Large enough for all your daily essentials and featuring a detachable shoulder strap, this bag has been made for ladies on the go.
Features
Material: Made from premium polyurethane
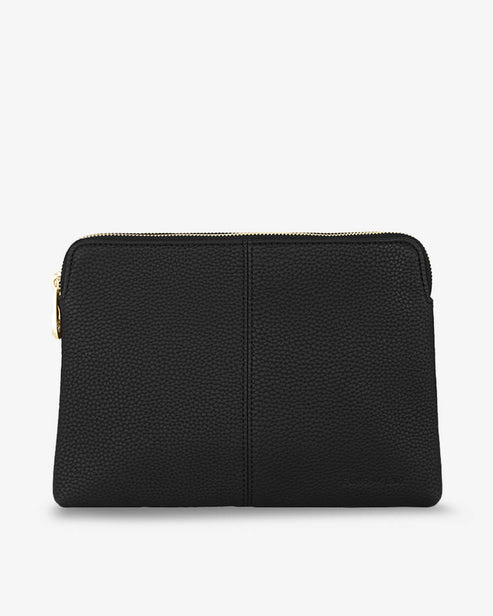
Closure: Top-zip closure
Internals: 2 compartments; credit card slots in front compartment, mobile phone pouch and key hook in back compartment.
Externals: Zip pocket
Lining: Signature cotton navy & white gingham lining,
Hardware: 14-karat light gold-plated hardware
Strap: Adjustable & detachable shoulder strap to match body colour, adjustable to 140cm
Height: 18cm
Width: 26cm
Depth: 4cm
Care
All Elms+King bags come packaged in our signature dust cover for safe storage. When not in use, store your Elms+King bag in its dust cover out of direct sunlight. The premium PU material can be easily wiped down, using a warm, wet cloth and non-abrasive cleaning solution.


Size Guide

-
Size Guide
Find out more -
Shipping Policy
Find out more -
Contact Us
Find out more